

How to Estimate Embroidery Stitch Count and Price It Right


Use filled square inches times 2,000 for a fast estimate, then run the design through digitizing software for an exact stitch count. That rule of thumb gets most logos within striking distance, and at a common baseline of $0.01 per stitch, a rough count is often all you need to sanity-check a quote before committing to production.
- Lay a printed 1-inch grid over your artwork, or use a U.S. quarter (about 1 inch across) to eyeball how many filled inches the design covers.
- Multiply filled square inches by 2,000 for a workable stitch estimate.
- At $0.005 to $0.015 per stitch, a 5,000 stitch mark lands somewhere between $25 and $75 before setup fees.
That’s your ballpark. For a number you can actually invoice against, send the artwork to a digitizer and get the file’s reported stitch count.
Key Takeaways
Accurate embroidery pricing depends on getting a real stitch count from digitizing software, not a rough estimate, before you commit to a production run.
| Point | Details |
|---|---|
| Use the 2,000 rule for quick estimates | Multiply filled square inches by 2,000 to ballpark stitch count before quoting. |
| Get exact counts from digitizing software | Tools like Wilcom and Hatch report the real stitch count baked into the file. |
| Expect $0.005 to $0.015 per stitch | Bulk and simple designs trend lower; rush and dense designs trend higher. |
| Budget thread using 182 stitches per yard | Add a 10 to 20% waste buffer for color changes and breaks. |
| Simplify logos for bulk orders | Fewer fill areas cut stitch count, cost, and turnaround time across large runs. |
Table of Contents
- What Are the Best Ways to Estimate Embroidery Stitch Count?
- How Many Stitches Does a Typical Design Need by Placement?
- How Does Stitch Count Determine Embroidery Pricing?
- How Do You Convert Stitch Count Into Thread Yardage?
- What Digitizing Tools Give You an Exact Stitch Count?
- The Guidance Most People Skip Before Ordering Embroidered Swag
- Ready to Turn Your Design Into a Real Quote?
- Sources
What Are the Best Ways to Estimate Embroidery Stitch Count?
Three methods cover almost every situation you’ll run into: the grid method, the quarter trick, and online calculators. Each trades a little accuracy for speed, and knowing when that trade-off is acceptable matters more than memorizing a formula.
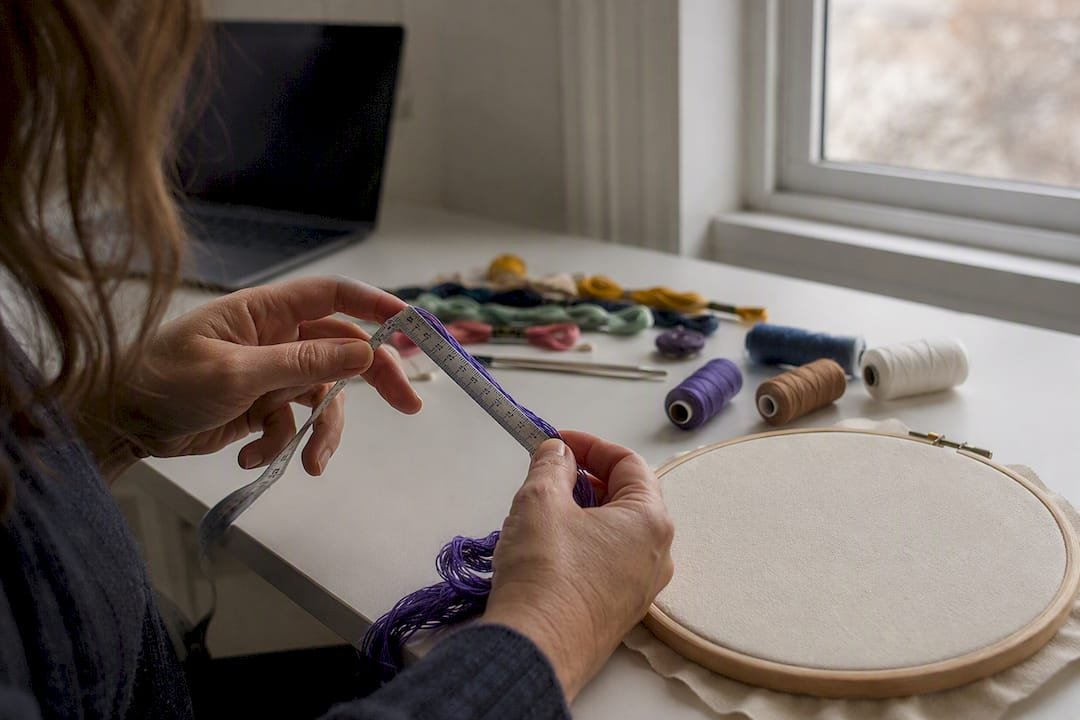
The grid method, step by step
- Print or draw a 1-inch grid on a transparent sheet, or overlay one digitally on your logo file.
- Lay it over the design and count how many squares are more than half filled with dense stitching (satin fill, tatami fill, or heavy outline work).
- Multiply that count by roughly 2,000 stitches per filled square inch, the same industry benchmark California Digitizing uses in its own estimator.
- Adjust upward if the design uses dense fill stitches, and downward if it’s mostly thin outline or running stitch.
This works because embroidery cost tracks filled area, not the size of the design’s bounding box. A 4 inch by 4 inch logo that’s mostly negative space might only have 1.5 filled square inches, while a smaller but denser 2 inch by 2 inch badge could pack in more actual thread.
The quarter trick
Grab a handful of U.S. quarters. Since each one covers close to a square inch, you can place them over the solid, filled portions of a printed design and count how many it takes to cover the ink. That number becomes your filled square inches, which you then multiply by 2,000. It’s crude, but it’s fast enough to do on a sales call while a customer is standing at the counter, and it beats guessing off gut feel.
Online calculators
Stitch count calculators automate the same math but ask for more inputs: design width, height, percentage of fill versus outline, and sometimes placement (since placement affects backing and stabilizer choices, which can change stitch density slightly). Feed in accurate dimensions and a calculator will spit out a range rather than a single number, which is honestly more useful, since it forces you to acknowledge the uncertainty instead of quoting a false-precision figure.
Picking the right method for the moment
Here’s where a lot of people trip up: bounding box versus filled area. A common pitfall is measuring the outer dimensions of a logo, say 4 inches by 3 inches, and treating all 12 square inches as filled.
Use the grid or quarter trick for quick phone quotes and initial sales conversations, when you need a number in under a minute and rough precision is fine. Move to an online calculator when you’re preparing a formal estimate for a client. And reserve digitizing software for anything going to production. That’s the only method that gives you a stitch count you can bill against with confidence.
How Many Stitches Does a Typical Design Need by Placement?
Placement drives size, and size drives stitch count, but the relationship isn’t linear. A jacket back isn’t just “bigger” than a left chest logo. It usually also carries heavier fill and finer detail, which pushes the stitch count up faster than the size increase alone would suggest.
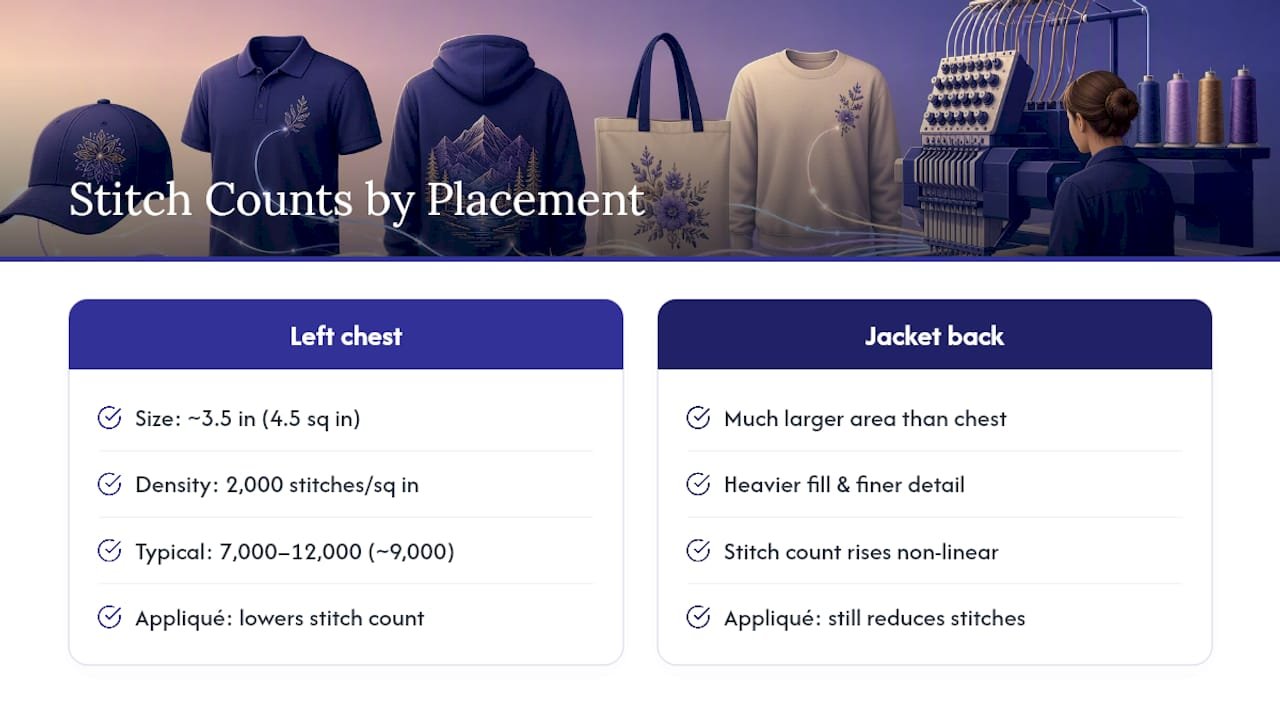
Technique changes these numbers quickly. Appliqué replaces some fill stitching with fabric, lowering the stitch count, while 3D puff embroidery adds foam base layers requiring extra stitches, often increasing stitch counts noticeably over flat designs. Textured fabrics like fleece or terry cloth need an underlay “knockdown” layer to keep loose fibers from poking through, adding stitches you won’t see in the final design but will see on the invoice.
Take a standard 3.5 inch left chest logo with roughly 4.5 filled square inches. At 2,000 stitches per filled square inch, that lands around 9,000 stitches, squarely in the 7,000 to 12,000 range most left chest logos fall into.
How Does Stitch Count Determine Embroidery Pricing?
Stitch count is the single biggest lever in an embroidery quote, and the math is simpler than most people expect once you see it laid out. Most shops charge $0.005 to $0.015 per stitch, with $0.01 acting as a common middle ground for standard commercial work. Rush jobs, tiny run sizes, and highly detailed designs push toward the top of that range; large bulk orders with simple logos pull toward the bottom.
Two examples show how fast this scales:
- Small logo, 5,000 stitches. At $0.01 per stitch, that’s $50 in stitching cost per piece, plus a one-time digitizing fee (commonly $25 to $75) that gets amortized across the run.
- Dense photographic design, 22,000 stitches. At the same $0.01 rate, you’re at $220 per piece before digitizing, thread, and finishing, which is why photo-realistic embroidery rarely makes sense for budget-conscious bulk orders.
Beyond the per-stitch math, factor in thread cost, machine time, labor for hooping and trimming, and shipping. On small runs, a flat digitizing fee can dominate the per-unit price, so batching orders or reusing an existing digitized file is one of the fastest ways to bring unit costs down.
How Do You Convert Stitch Count Into Thread Yardage?
Once you know your stitch count, thread planning follows a fairly reliable benchmark: roughly 182 stitches per yard, or about 5 to 5.5 yards of thread for every 1,000 stitches.
- An 8,000 stitch design needs roughly 40 to 44 yards of thread total, split across however many colors the design uses.
- Add a 10 to 20% waste buffer for color changes, trims, and the occasional thread break, per SewingTrip’s thread calculation guide.
- Dense fill stitches and heavier fabrics burn through more thread than the benchmark suggests, so run a test swatch before committing a full production spool count on a new design.
What Digitizing Tools Give You an Exact Stitch Count?
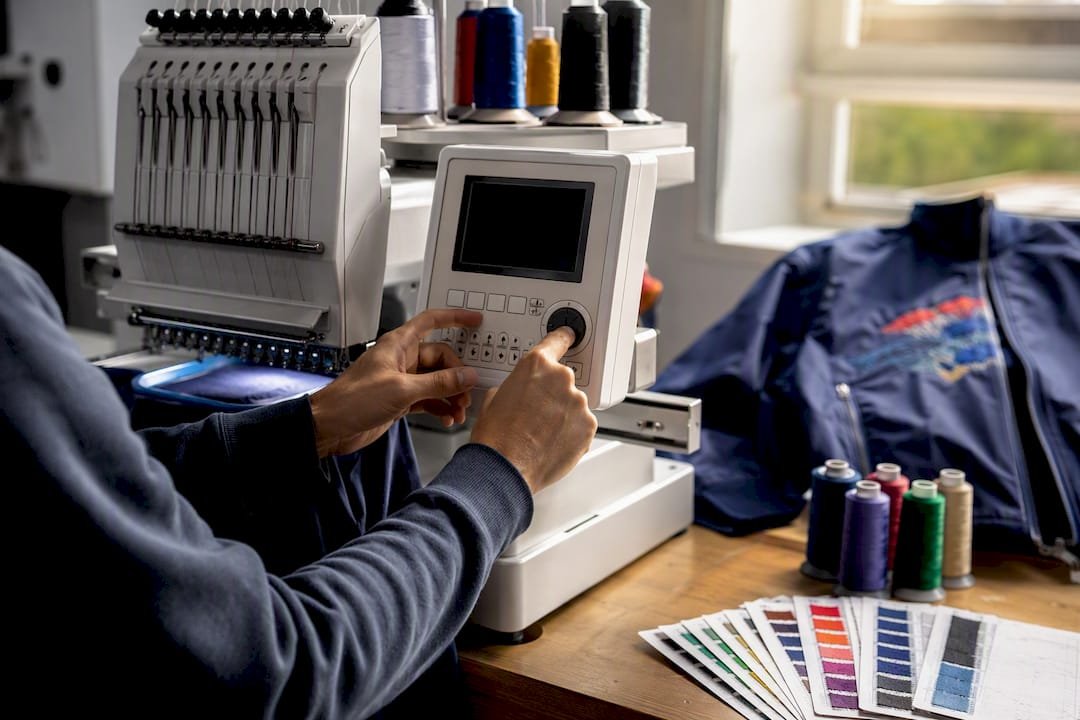
Estimates get you in the ballpark. Digitizing software gives you the real number. Programs like Wilcom and Hatch generate stitch files (DST, PES, and similar formats) that report the exact stitch count baked into the design, and that figure is what should anchor any final quote, not a grid estimate.
- Ask your digitizer or vendor for the exact stitch count, a per-color stitch breakdown, and any assumptions about run length before you sign off on a price.
- Revisions change stitch counts. A “small tweak” to a logo can add or remove hundreds of stitches, so re-check the count after any edit.
- Digitizing fees are typically separate from per-stitch production costs, and they’re worth paying once and reusing across every future reorder of the same logo.
Pro Tip: Ask your digitizer for a screenshot or PDF report of the stitch count straight from the software before you approve production. It takes them thirty seconds and saves you from a pricing surprise on a 5,000 unit order.
How Discountswag Uses Stitch Counts to Build Accurate Quotes
Discountswag treats the digitized stitch count as the number that matters rather than a sales-floor guess. Our quoting checklist: confirm placement first, request the digitized stitch count and per-color split, and flag logos with heavy fill or fine detail that might benefit from simplification on bulk runs. That’s how we balance per-stitch pricing, digitizing fees, and volume discounts into one quote you can actually plan a budget around. For guidance on choosing designs and placements before you request a quote, see our logo apparel buying guide.
The Guidance Most People Skip Before Ordering Embroidered Swag
Most advice on stitch counting focuses entirely on getting the number right, which misses the point. The number only matters because of what it does to your invoice and your turnaround time. A stitch count is really a proxy for machine time, thread use, and needle wear, all of which compound across a bulk order in ways a single-unit estimate hides completely.
Where conventional guides fall short is treating estimation as a one-time task. It isn’t. A design that looked fine at the mockup stage can balloon in stitch count after a revision nobody flagged, and that gap doesn’t show up until the invoice does. The fix isn’t a better calculator. It’s asking for the actual digitized number before production, every time, even on reorders.
If you’re ordering branded apparel for a team or an event, prioritize simplifying your logo before you prioritize finding the cheapest per-stitch rate. A cleaner design with fewer fill areas will save more money across a 100-piece order than shopping three vendors for a two-cent difference in per-stitch pricing ever will. That’s the lever that actually moves your budget, and almost nobody talks about it. For a broader look at when embroidery beats printing on cost, our comparison of screen printing vs. embroidery apparel walks through the trade-offs in more detail.
— Jerry
Ready to Turn Your Design Into a Real Quote?
Discountswag helps businesses turn a stitch count estimate into finished, branded apparel without the guesswork. Our team reviews your artwork, confirms the digitized stitch count, and builds a quote around real numbers instead of rough math. Whether you’re outfitting a small team or planning a large event order, our custom corporate apparel bulk buying guide walks through how volume pricing and stitch complexity interact so you know what to expect before you commit budget.
Sources
Keep these on hand when you need to run your own numbers instead of relying on someone else’s estimate:
- Embroidery Stitch Count Estimator (Free Calculator & Chart) — California Digitizing
- Pricing embroidery per stitch — Craftybase
- Embroidery thread calculations — SewingTrip
 Bottle Carriers
 Mugs
Mugs